Wood and underfloor heating suit each other when the pairing is planned: engineered boards, fully bonded, a surface that never passes 27°C, and a subfloor that has been tested dry. One maker’s guide traces nearly every failure to guidelines that were not followed.
A warm floor in January is one of the real pleasures of a well-made house, and heated screeds are now very common in new luxury homes and deep renovations. Wood can give you that comfort. It is also a material that gives up moisture as it warms and takes it back as it cools, so the floor and the heating have to be planned together, not one after the other.
This guide sets out what the makers’ own installation guides agree on, where they differ, and what to ask for before a floor is ordered. It is general guidance. The installation guide for the board you choose, and the design of the heating system, always take precedence.
The short answer
Yes, wood flooring can be laid over underfloor heating. The conditions are specific, and they are the ones the manufacturers set.
- Choose engineered construction. Makers differ on solid boards, so treat engineered as the default and get any other choice approved in writing.
- Keep the floor surface at or below 27°C at every point, not just on average.
- Bond the floor to the screed. Herringbone, chevron and panel parquet must be fully bonded, and only some planks may be floated.
- Test the screed for moisture before any wood is delivered, and run the heating through its commissioning programme before the floor is laid.
- Bring the temperature up in stages after fitting, and keep the room’s air and humidity within the maker’s range.
Why engineered boards suit heated floors
Timber takes up moisture from damp air and gives it back to dry air, and it shrinks and swells as it does. A solid board is one material from top to bottom, so it moves as one piece. An engineered board bonds a real wood wear layer to a core, usually of cross-laid layers, each one pulling against the next, which holds the board flat through the heating season. That is why several makers’ guides recommend it over heated floors, and why our guide to engineered and solid flooring does the same.
Thickness matters for a second reason: heat has to pass through the board. Resistance to heat rises with thickness. In one maker’s data sheet a 14 mm solid board has a thermal resistance of 0.08 m²K/W and a 22 mm board 0.13. An engineered board with a modest total thickness and a generous wear layer gives a floor that warms quickly and still has years of sanding in it.
Cores differ as well. A multi-layer plywood core is generally the most stable choice. Fibreboard cores are cheaper and generally more sensitive to moisture. Ask which core a board has before you ask what the surface looks like.
The 27°C rule
The figure most UK makers quote is 27°C. The surface of the finished floor should not exceed it, and one UK maker is explicit that the limit applies to every point on the floor, not to an average. Above it, especially if the floor is heated quickly, the timber can dry out too fast or too far, and the result is distortion, splits and cracks. A continental guide we read allows up to 29°C, so the figure is not universal: work to the one in the installation guide for your board, and to 27°C where there is no other instruction.
The limit is on the floor, not on the water. The flow temperature that produces 27°C at the surface depends on the pipe spacing, the screed, the thickness of the board and whatever lies on top, and the guidance differs: one UK maker caps the water at 35°C, another gives a typical flow of 35 to 45°C. Use the figure for your board. Two controls are used to hold the limit: flow-control valves set for a floor at 27°C, and a floor probe that cuts the heat if the surface climbs. Electric systems need a cut-off that does the same. Hot spots are a common fault in poorly installed systems, so the build-up beneath the wood should include a layer that spreads the heat evenly.
Underfloor heating works best as a slow, steady background heat, not as the main source of heat in the room. Where a room needs more output, add another source rather than raising the floor temperature. One maker gives an indicative ceiling of around 100 W/m².
Bonded, floated or nailed
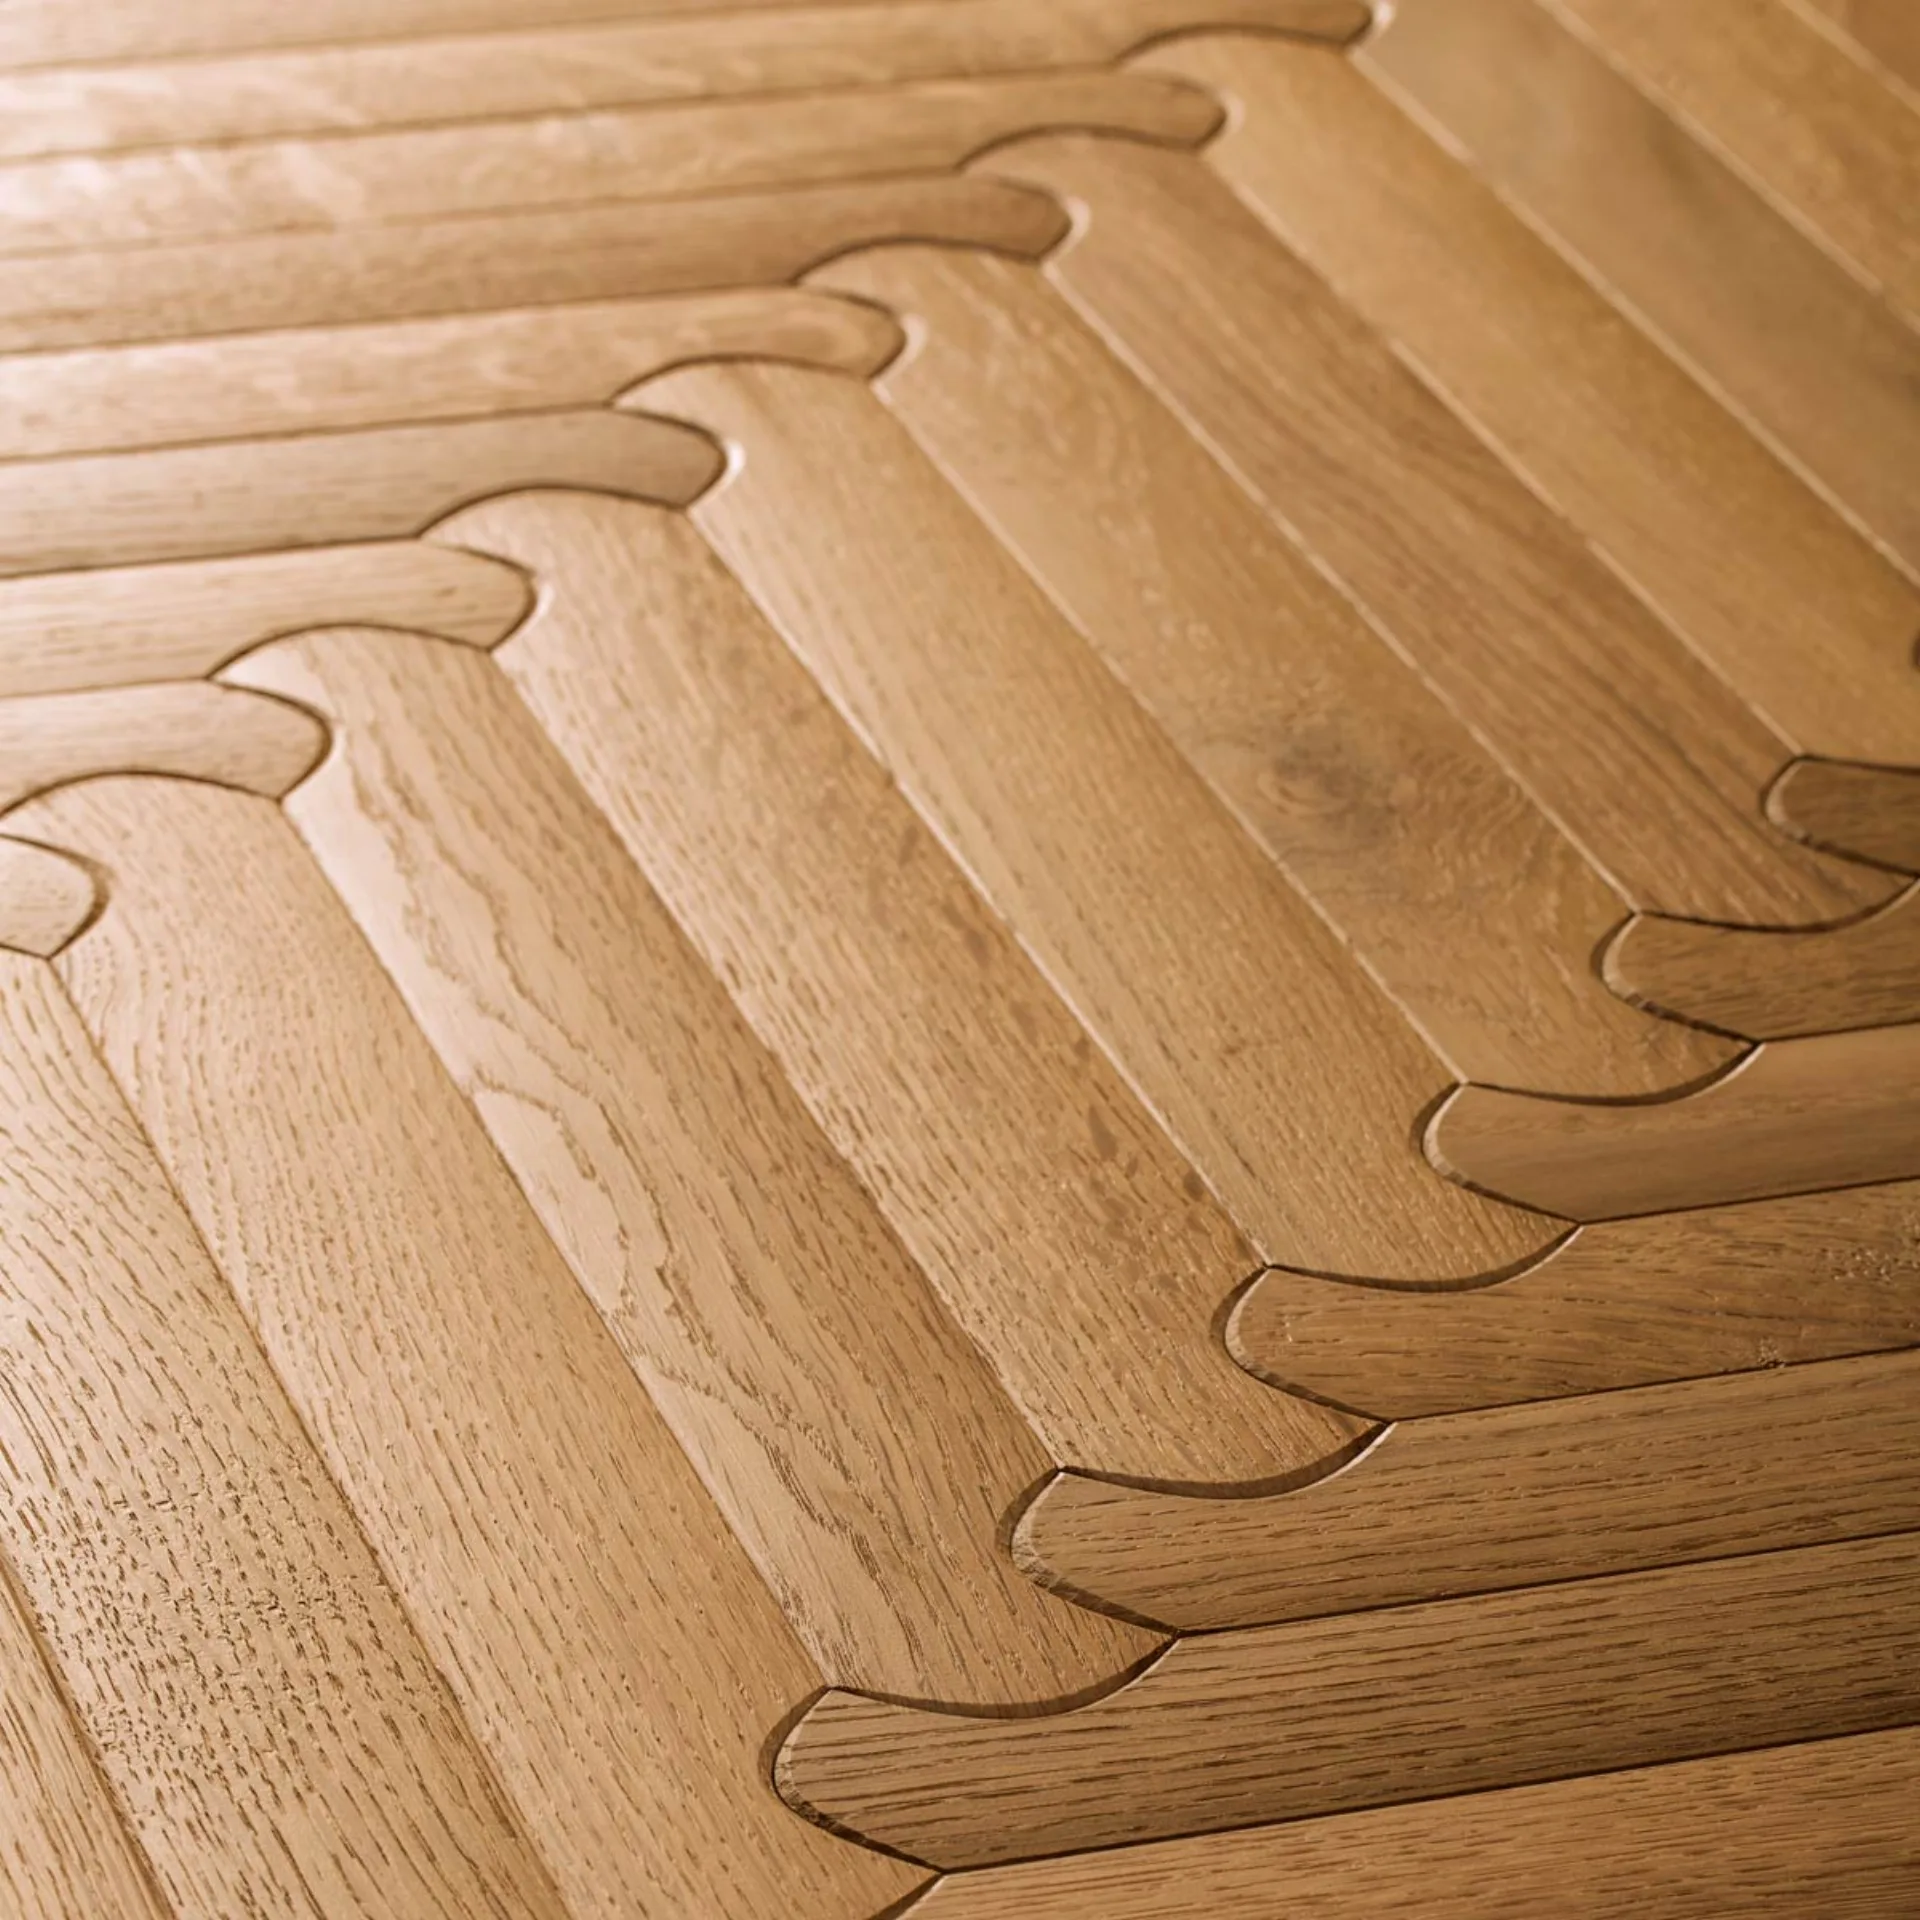
Fully bonding the floor to the screed with a flexible adhesive is the method most makers prefer over heating. Heat passes straight into the board, the floor feels solid underfoot, and each board is free to move on its own, so any seasonal shrinkage shows as a hairline gap here and there rather than strain across the whole floor. Pattern floors have no choice in the matter: herringbone, chevron and panel parquet must be fully bonded.
Some tongue-and-groove and click planks may be floated over a suitable underlay. The trade-off is heat. An underlay is an insulating layer: in one data sheet one foam underlay adds 0.07 m²K/W, almost as much as the 14 mm board (0.08) laid over it. A floated floor also moves as a single sheet, which puts more strain on the joints in a large room. Where heat output matters, bond. Nailing to battens is the traditional method for solid boards over joists and is not a heated-screed method.
A dry subfloor
Wood laid over a damp screed takes up that moisture, then shrinks when the heating dries it back out. Test before you order. The British Standard for installing wood flooring, BS 8201:2011, is cited by the makers’ guides, and the relative-humidity hygrometer test it recommends is left sealed over the screed for 72 hours. The calcium carbide test is quicker and is also used.
Targets differ from maker to maker, so use the one in the guide for your board. As an example, one maker asks for a concrete screed at no more than 2 per cent by the carbide method (or 65 per cent relative humidity, and 75 per cent where an adequate damp-proof layer is fitted) and an anhydrite screed at no more than 0.5 per cent, or 0.3 per cent with underfloor heating. A new concrete screed should be at least 30 days old before it is tested. As a rough guide it needs a day for each millimetre of thickness up to 40 mm and two days for each millimetre beyond.
Run the heating before the floor goes down
A new heated screed has to be dried out, and the system tested, before the floor is laid. One maker’s programme for a water-fed system shows the principle: raise the temperature in daily steps, hold it at the maximum for a week, step it back down, switch off, and wait before the final moisture reading.
| Day | Water temperature |
|---|---|
| Day 1 | 20°C |
| Day 2 | 30°C |
| Day 3 | 40°C |
| Day 4 | 50°C, or the maximum planned operating temperature, held constantly for seven days |
| Day 12 | 40°C |
| Day 13 | 30°C |
| Day 14 | 30°C |
| Day 15 | Heating off. Allow four days before the final moisture reading. |
If more than seven days pass between the last cooling step and fitting, the same guide runs the system at its minimum operating temperature for two days, then switches it off for at least four days before the moisture is checked again. These are commissioning temperatures, for drying the screed and proving the system. They are never used once the wood is down. Your flooring supplier and the heating installer may set a different programme. What matters is that one exists and is written down.
After the floor is down
Bring the heating up gradually the first time, in small daily steps, and do the same after any period when it has been off. Keep the room within the maker’s band. One UK maker asks for 16 to 24°C and 45 to 65 per cent relative humidity; another gives 35 to 65 per cent as normal for houses. A heated house is a dry house, and in winter a humidifier may be needed.
One maker’s engineered boards arrive at a moisture content of around 8 to 10 per cent and can settle to 6 to 8 per cent under heating, so a little seasonal movement is normal: hairline gaps that open in winter and close again in summer. Thick rugs and large solid items trap heat and dry the boards beneath them, so use thin rugs and check the temperature underneath, or avoid them.
If only part of an open floor is heated, such as the sitting end of an open-plan room, break the floor with a threshold strip between the two zones. Otherwise the heated and unheated areas shrink and swell at different rates. One maker also recommends a small logger fitted into the underside of a board, which records temperature and humidity for several years and shows what happened if a problem appears.
What we advise
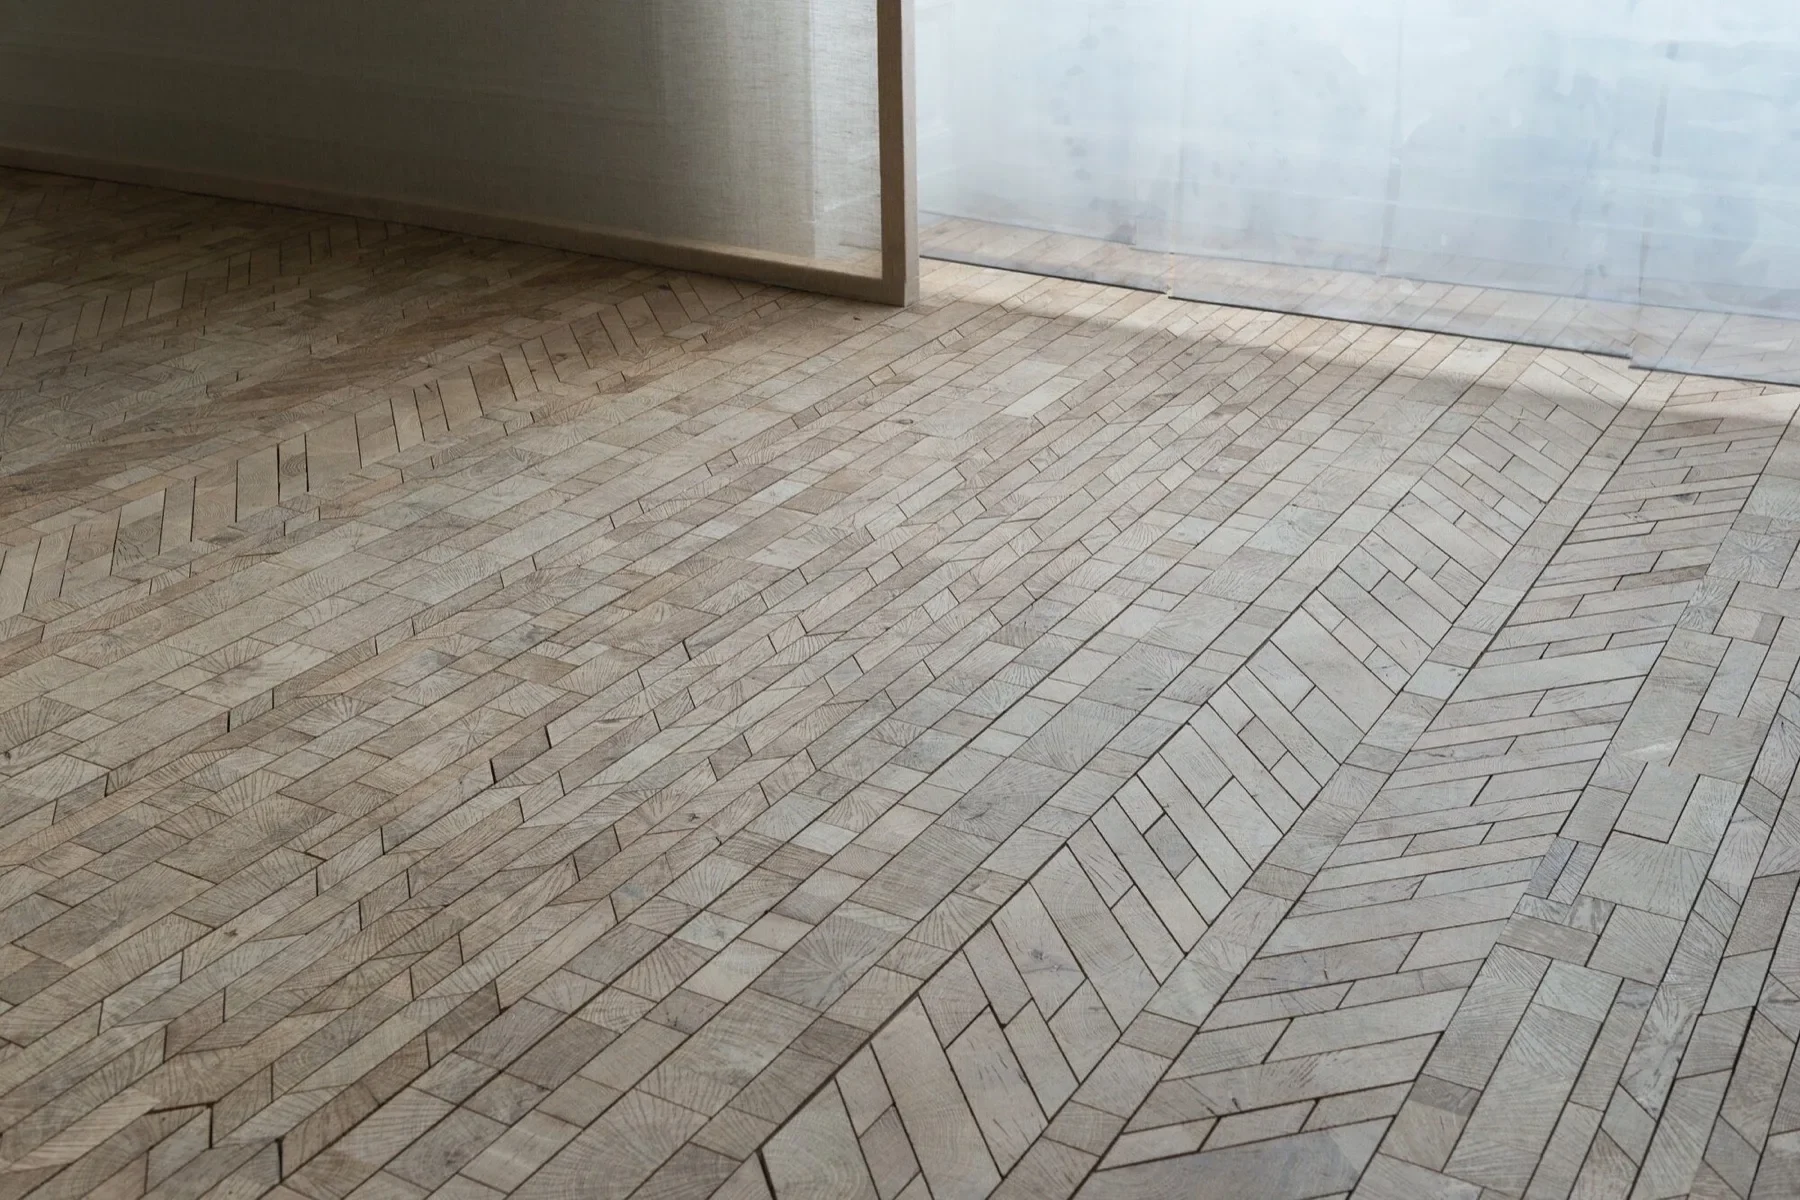
For a heated floor we specify engineered construction with a generous wear layer, fully bonded, and we confirm the subfloor, moisture and acclimatisation requirements with your contractor before installation. Ask the heating installer for the maximum floor temperature in writing, and ask the flooring supplier for the maker’s own heated-floor guide. Our collections are specified for use over underfloor heating when correctly installed and commissioned. Biscuit, Slide and Undici are engineered oak, and Classics and Désir are specified for heated floors in the same way. Forêt and Opus are end-grain solid oak, which asks for particular attention to the substrate and to acclimatisation, and for the maker’s approval over heating.
To see how a pattern reads before you commit, lay it in the floor visualiser. For the wider picture of construction, finish and pattern, start with our guide to wood flooring, for the rest of the installation, from site conditions to setting out, read our guide to wood flooring installation, and for how the finish affects wear and upkeep, read about wood floor finishes.
Questions we are asked
Can you put wood flooring over underfloor heating?
Yes, if the floor and the heating are matched. Use engineered boards, keep the floor surface at or below 27°C everywhere, bond the floor to a dry screed, and bring the heat up in stages. Makers set these conditions, and a floor laid outside them is the one that fails.
Is engineered or solid wood better over underfloor heating?
Engineered is the safer default. Its cross-laid layers hold the board flat as the heating cycles through the season, and a modest total thickness lets heat through. Some makers approve particular solid boards for heated floors, so if solid timber is wanted, get that approval in writing for the exact product.
What is the maximum temperature for a wood floor over underfloor heating?
The figure most UK makers quote is 27°C at the floor surface, at every point rather than on average. The flow temperature of a water system that achieves it depends on the build-up of the floor, and guidance on water flow temperature differs from maker to maker, so use the figure for your board.
Can herringbone or chevron parquet go over underfloor heating?
Yes. Pattern floors are laid fully bonded to the screed anyway, which is also the best arrangement for heat transfer. Herringbone, chevron and panel parquet must not be floated.
Can an engineered floor be floated over underfloor heating?
Some tongue-and-groove and click planks may be, over a suitable underlay, if the maker allows it. Be aware that an underlay insulates: in one data sheet one foam underlay adds nearly as much thermal resistance as the 14 mm board laid on it. Where heat output matters, bond the floor.
Will the boards gap in winter?
A little, and it is normal. One maker’s engineered boards arrive at a moisture content of around 8 to 10 per cent and can settle at 6 to 8 per cent under heating, so hairline gaps can open in winter and close again in summer. Large or persistent gaps can point to a floor that is too hot, too dry or was laid on a damp screed.
Can I put rugs on a wood floor with underfloor heating?
Thin rugs, yes. Thick rugs and large solid items trap heat and can dry the boards beneath them, so makers advise against them or ask that the floor temperature under the rug is checked.
How long must a new screed dry before the wood goes down?
One maker asks for a new concrete screed at least 30 days old before it is even tested, and gives a rough guide of a day for each millimetre of thickness up to 40 mm and two days for each millimetre beyond. Moisture is then tested, and the heating is run through a commissioning programme before the floor is laid.
Sources
Figures in this guide are the makers’ published guidance, quoted as examples. Always follow the installation guide for the product you buy.