A wood floor is only as good as the work beneath and around it. A flat, dry subfloor, a building at living conditions, the right fixing for the format and a movement gap that is respected decide the result as much as the board does.
A well-laid floor disappears. The joints are tight, the pattern runs true to the walls, and nothing moves or speaks underfoot. A badly laid one tells you soon enough. The difference is often not the timber but the order in which the trades finish, the state of the subfloor, how the boards are held down and how much the floor is allowed to move.
This guide is for designers, architects and contractors. It sets out what a good installation specification covers, in the order the work happens, drawing on one UK maker’s published installation guide, the British Standard it refers to (BS 8201:2011) and the checks we make with your contractor before a floor goes in. Figures are one maker’s and are attributed as such. The installation guide for the board you choose always takes precedence.
Before anything arrives: the building
The floor goes in late. It should be one of the last elements of the build, after the wet trades, the plastering and the primer coats of paint, with the walls, windows and external doors in place so the room’s temperature and humidity can be controlled. One maker asks for the building to be held at 16 to 24°C and 45 to 65 per cent relative humidity before the floor is delivered, with permanent heating running at least five days before installation where the building allows, or temporary heating and dehumidification that mimics normal conditions until it does.
Services go in first, and the subfloor is dry and clean. Pipes in the subfloor are set at an adequate level or insulated, because an uninsulated pipe can cause localised shrinkage and a leak makes the boards swell, and cables are set at a depth that keeps them clear of the fixings. Basements and crawl spaces must be dry, and a crawl space needs adequate ventilation. If the ground outside is more than 75 mm above the floor level, the floor is treated as below ground: moisture barriers and engineered boards only.
If other trades follow, protect the floor completely with a purpose-made covering. Plaster dust, paint and sanding dust are the biggest contaminators of a finished floor, and a floor that is only partly covered will change colour where the light reaches it. Tape the covering to the skirting with a low-adhesion tape and keep adhesive tape off the finished surface.
The subfloor
The subfloor must be clean, dry, structurally sound, free of squeaks and flat. A common tolerance is a gap of no more than 3 mm under a 2 m straight edge, and the British Standard also sets limits on deviation from level over larger areas. Peaks and valleys beyond the tolerance are levelled with a screed made for use under wood flooring, and it is usually the builder’s responsibility to hand the flooring contractor a subfloor within tolerance.
For herringbone, chevron and panel floors flatness is critical. A pattern that runs out opens gaps between the elements, and in chevron every inconsistency shows at the sharp points. One maker says it is very rare for a problem in a chevron or patterned floor not to trace back to an inadequately levelled subfloor. Large panels, many of them close to a square metre, show the same thing: a bow in the subfloor makes one panel, in effect, a different size from its neighbour.
| Subfloor | What to check | Figures one maker gives |
|---|---|---|
| Concrete and sand-cement screed | Clean, flat, well bonded, no hollow spots, cracks, sealers, waxes or paint; not chalky, soft or burnished. Moisture tested and recorded. | Strength of at least 3000 psi (21 N/mm²). A slick, power-floated or burnished surface is abraded with 30-grit paper and primed. A new screed is at least 30 days old before it is tested. |
| Anhydrite (calcium sulphate) screed | Laitance, the weak surface layer, removed after curing so moisture can escape; moisture read after the laitance is gone; protected from moisture once dry. | No more than 0.5 per cent moisture (0.3 per cent with underfloor heating). A liquid damp-proof membrane over the dry screed is good practice. |
| Plywood and OSB panels | Sound, free of squeaks, flat; edge swell sanded back; panels fixed securely over supports. | Flat to 3 mm under a 2 m straight edge. Fixings about every 300 mm, with a 3 mm gap around each panel. Moisture content up to 12 per cent and within 2 per cent of the flooring. |
| Existing floorboards | Structurally sound, no rot or infestation, no movement or squeaks; refix loose boards. | Flat to within 3 mm over a 2 m radius. Parquet is not recommended directly onto boards without a ply overlay of at least 9 mm. |
| Joists | Dry and level with each other; only for flooring thick enough to act structurally. | Around 20 mm minimum thickness for structural flooring (solid or engineered); joists flat to 3 mm under a 2 m straight edge. |
| Tiles and stone | Flat and sound. Engineered and solid flooring can go over ceramic tile, terrazzo, marble and granite. | Flat to 3 mm over a 2 m radius, otherwise a levelling screed. Patterns, herringbone and panels over tile: a ply overlay of at least 9 mm. |
Where an extension in screed meets a suspended floor, level the whole area and remove the ridge between them. Use one fixing method across it, unless a T-section separates the two. Over a floor that is only partly heated, a T-section between the heated and unheated areas prevents differential movement. Our guide to wood flooring over underfloor heating covers heated floors.
Moisture: test, record, then order
Wood laid over a damp subfloor takes the moisture up and then shrinks as it dries. Test before the flooring comes into the building, and record the date, the relative humidity, the temperature, the type of meter and a plan of the test points. A test is a snapshot, so it tells you whether to start, not what the subfloor will do later.
There are three common tests for concrete. An electrical-impedance meter is a quick, non-destructive surface check. The calcium carbide test drills a small hole and is quick and accurate. The relative-humidity hygrometer test seals an area for 72 hours and is slow but accurate, and it is the method BS 8201:2011 recommends for concrete. A wood moisture meter is not for concrete: it reads differently and needs calibrating to the species. On a slab on or below ground, one maker asks for a test within a metre of each exterior wall, ten tests for the first 93 m² and one for every 93 m² after that.
The same maker’s targets are a concrete screed at no more than 2 per cent by the calcium carbide method (or 65 per cent relative humidity by the hygrometer method, and 75 per cent where an adequate damp-proof layer is fitted), an anhydrite screed at no more than 0.5 per cent, and a wood subfloor at no more than 12 per cent and within 2 per cent of the flooring. A new concrete screed should be at least 30 days old before it is tested, and as a rough guide it needs a day for each millimetre of thickness up to 40 mm and two days for each millimetre beyond. Even a screed that is dry to the touch can still be too wet, and new, thick screeds can take many months to dry.
Before any glue-down over concrete or anhydrite, one maker asks for a liquid damp-proof membrane: one coat over underfloor heating and two coats without it. The primer also helps the adhesive bond to a loose or dusty screed. For a floated floor over concrete, an underlay with a built-in moisture barrier goes down first, with every seam taped.
Acclimatisation
Wood changes size with moisture, mostly across the grain. If all the boards are at the same moisture content, they have the same width and the floor can go down without gaps opening later. One maker asks for the packs to be acclimatised unopened and stacked flat in the room to be floored for two to three days, with the building at living conditions, and for a delivery that covers several rooms to be split and stored room by room. Check the moisture content of the boards before fixing, and allow longer where the floor is over underfloor heating.
Fixing: bonded, floated or nailed
The fixing method is chosen early, with the subfloor, the format and the use of the room in mind. The format narrows the choice.
| Method | Suits | What it asks for |
|---|---|---|
| Fully bonded (glued down) | Engineered planks; herringbone, chevron, panels and Versailles; pattern floors in general | Full-spread adhesive on a primed, dry, flat subfloor, applied with a notched trowel (one maker: 3 mm for planks, 5 mm on concrete for patterns). Never glue the tongues and grooves on a bonded floor. |
| Floating | Tongue-and-groove or click planks; not patterns | An approved underlay with a vapour barrier, seams taped, and glued joints for tongue-and-groove. One maker caps a glued floating floor at 6 m wide by 10 m long, because the whole floor moves as a single sheet; click systems have their own limit. |
| Nailed | Solid boards over joists, battens or plywood | Secret nailing through the tongue into each joist, or every 200 to 300 mm on panel subfloors. Not recommended over underfloor heating, and one maker advises bonding planks wider than 250 mm. |
Fully bonded is the method one maker recommends for pattern floors. The adhesive goes on the subfloor in a full spread, never in intermittent lines, only over an area small enough to lay within its open time, and any adhesive that has skinned over is scraped off and replaced. Keep it off the finished face. Never glue the tongue and groove on a bonded floor: it ties the planks together and leads to rafting, uneven gaps that open as the floor moves. Weigh down panels as they are laid, strap down the last row if work stops overnight, and do not walk or kneel on the floor until the adhesive has bonded. One maker asks for the first column of a chevron, or the first complete pattern repeat, to cure for up to 24 hours before it becomes the start for the rest.
A floated floor is not bonded to the subfloor, so the whole floor moves as one piece. Do not fix kitchens, cupboards or other joinery through it, because anything screwed into the floor restricts its movement. A nailed floor suits solid boards and has its own limits: take care when nailing within 50 mm of the end of a board, where the tongue can split, and note that nailing is not recommended over underfloor heating.
Setting out pattern floors
Plank floors are set out from the wall that matters most. Choose it by the most important architectural features, such as a fireplace, doors, cabinets and transitions, and by the squareness of the room. Plan the width so opposite walls get roughly half-width boards, not narrow slivers, stagger the end joints by at least three times the board width, and mix boards from three or four packs at a time for an even spread of colour and character.
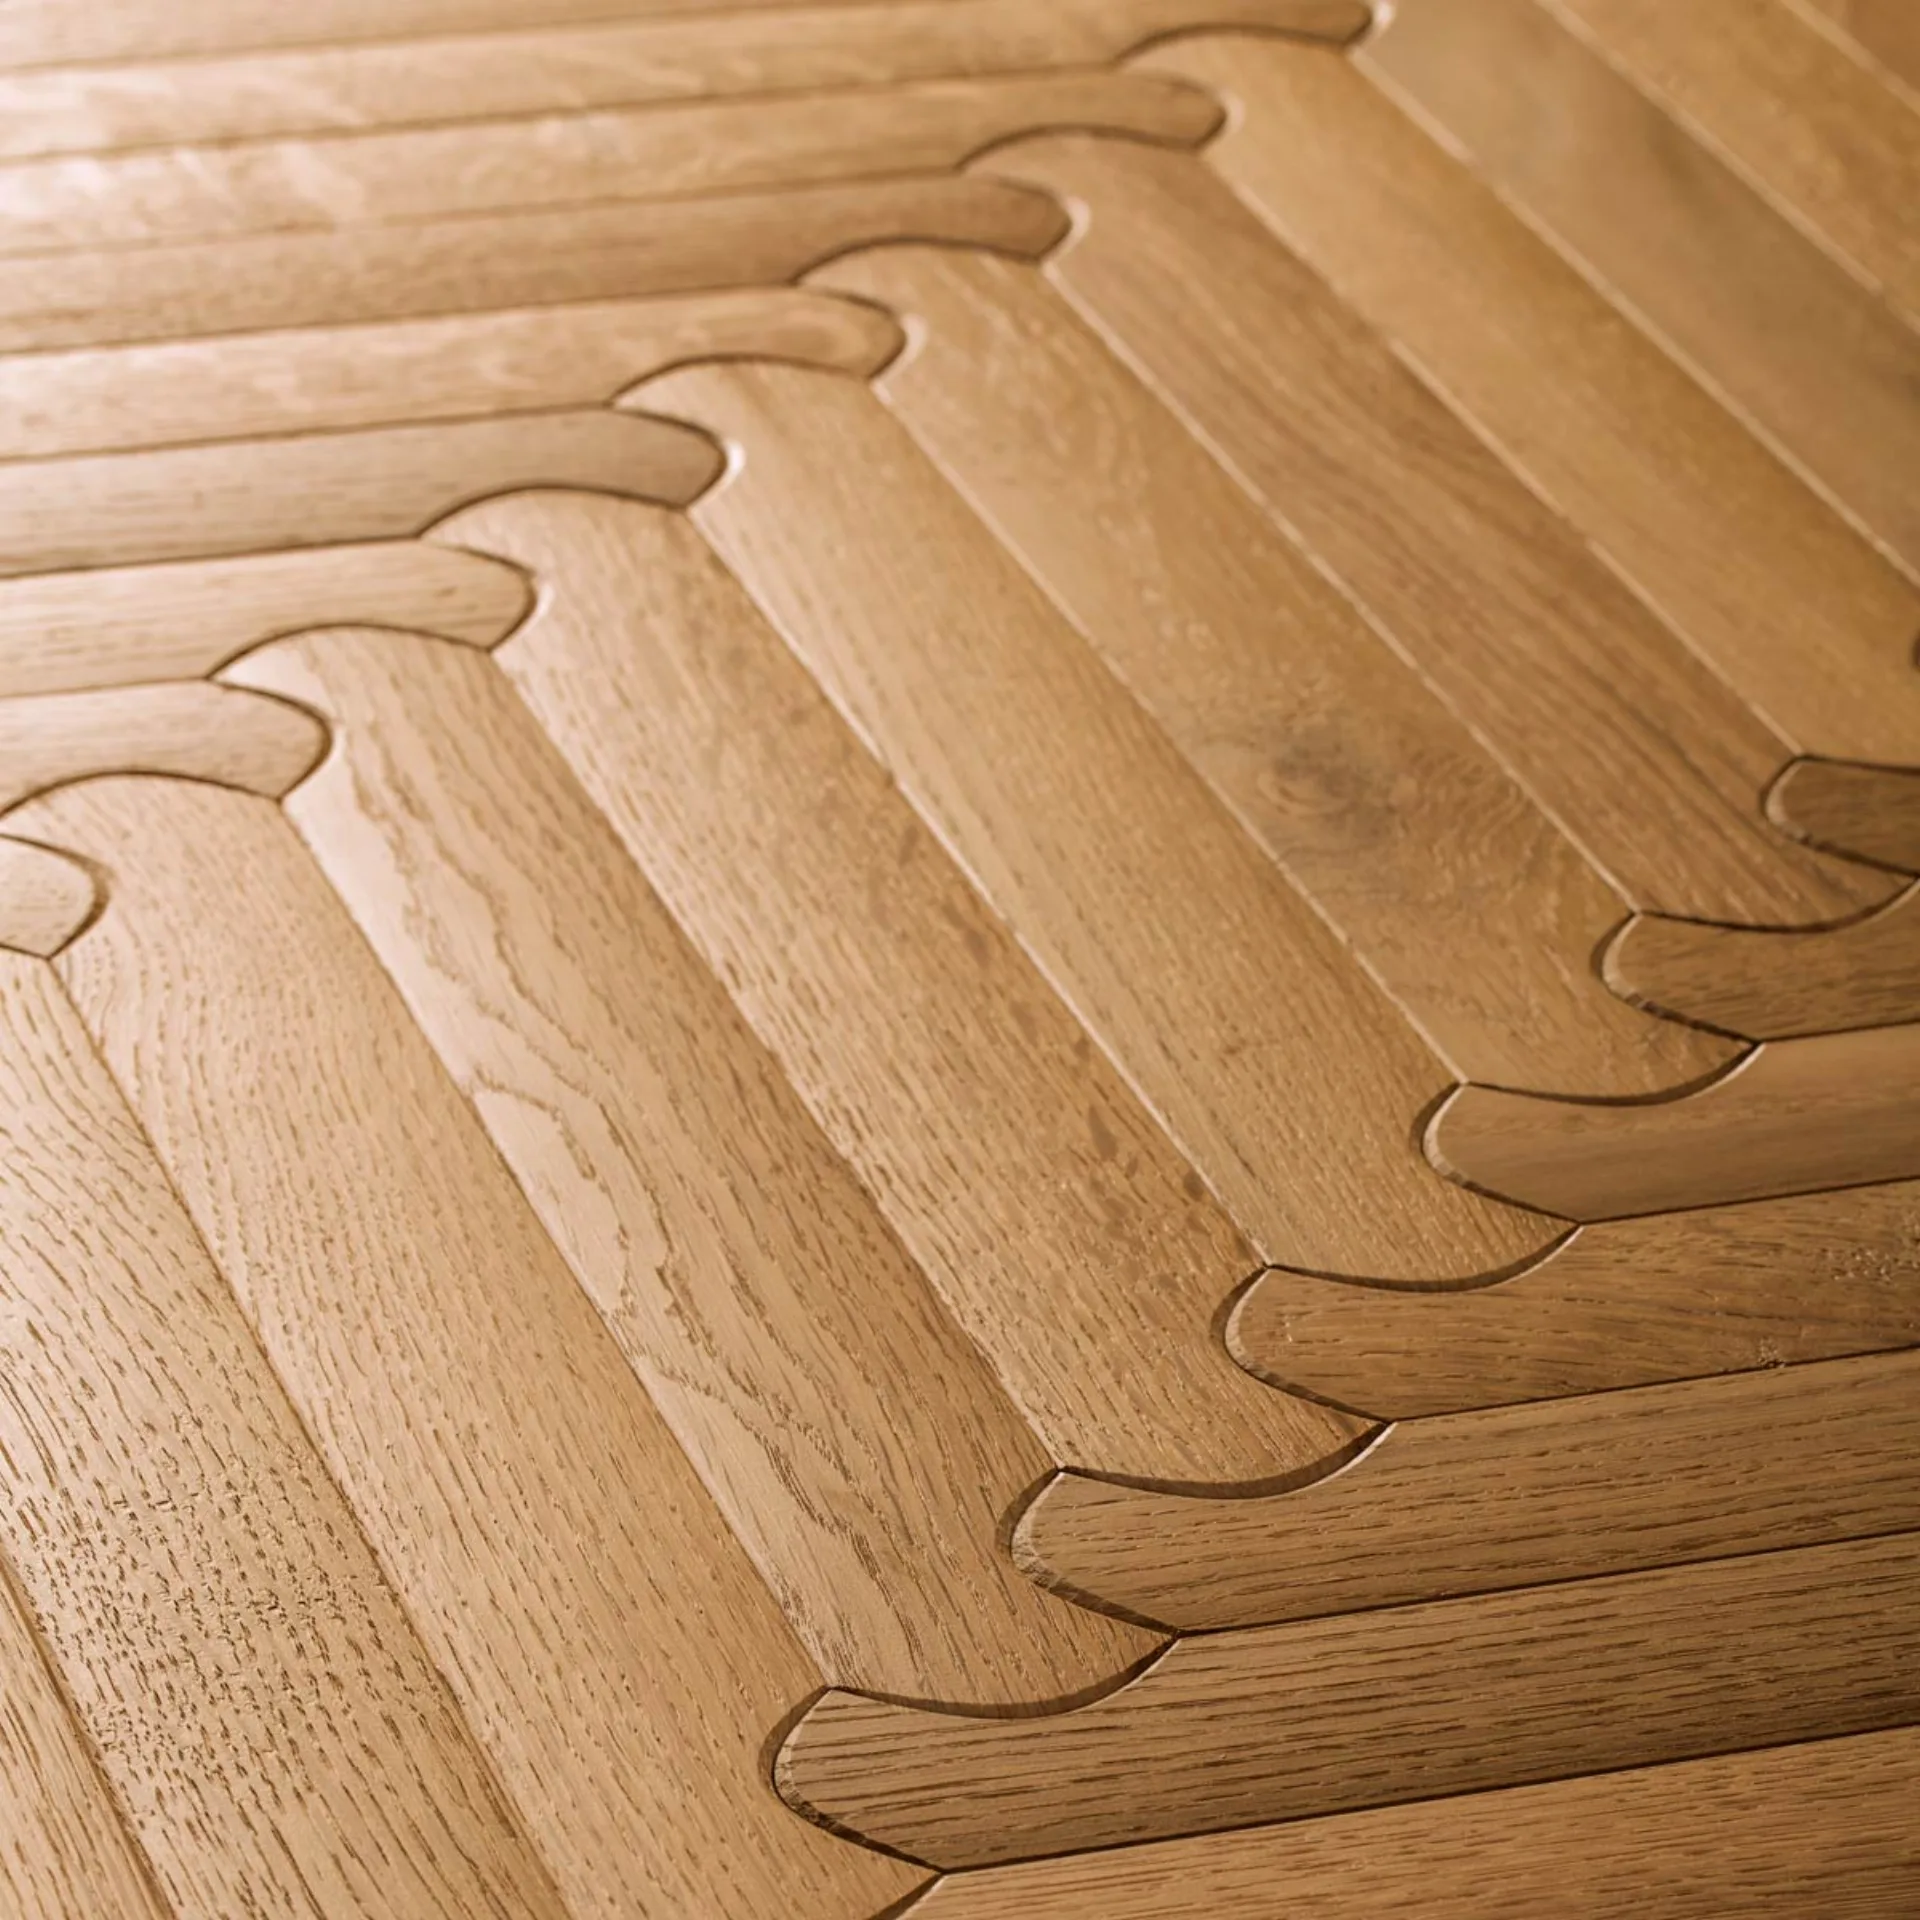
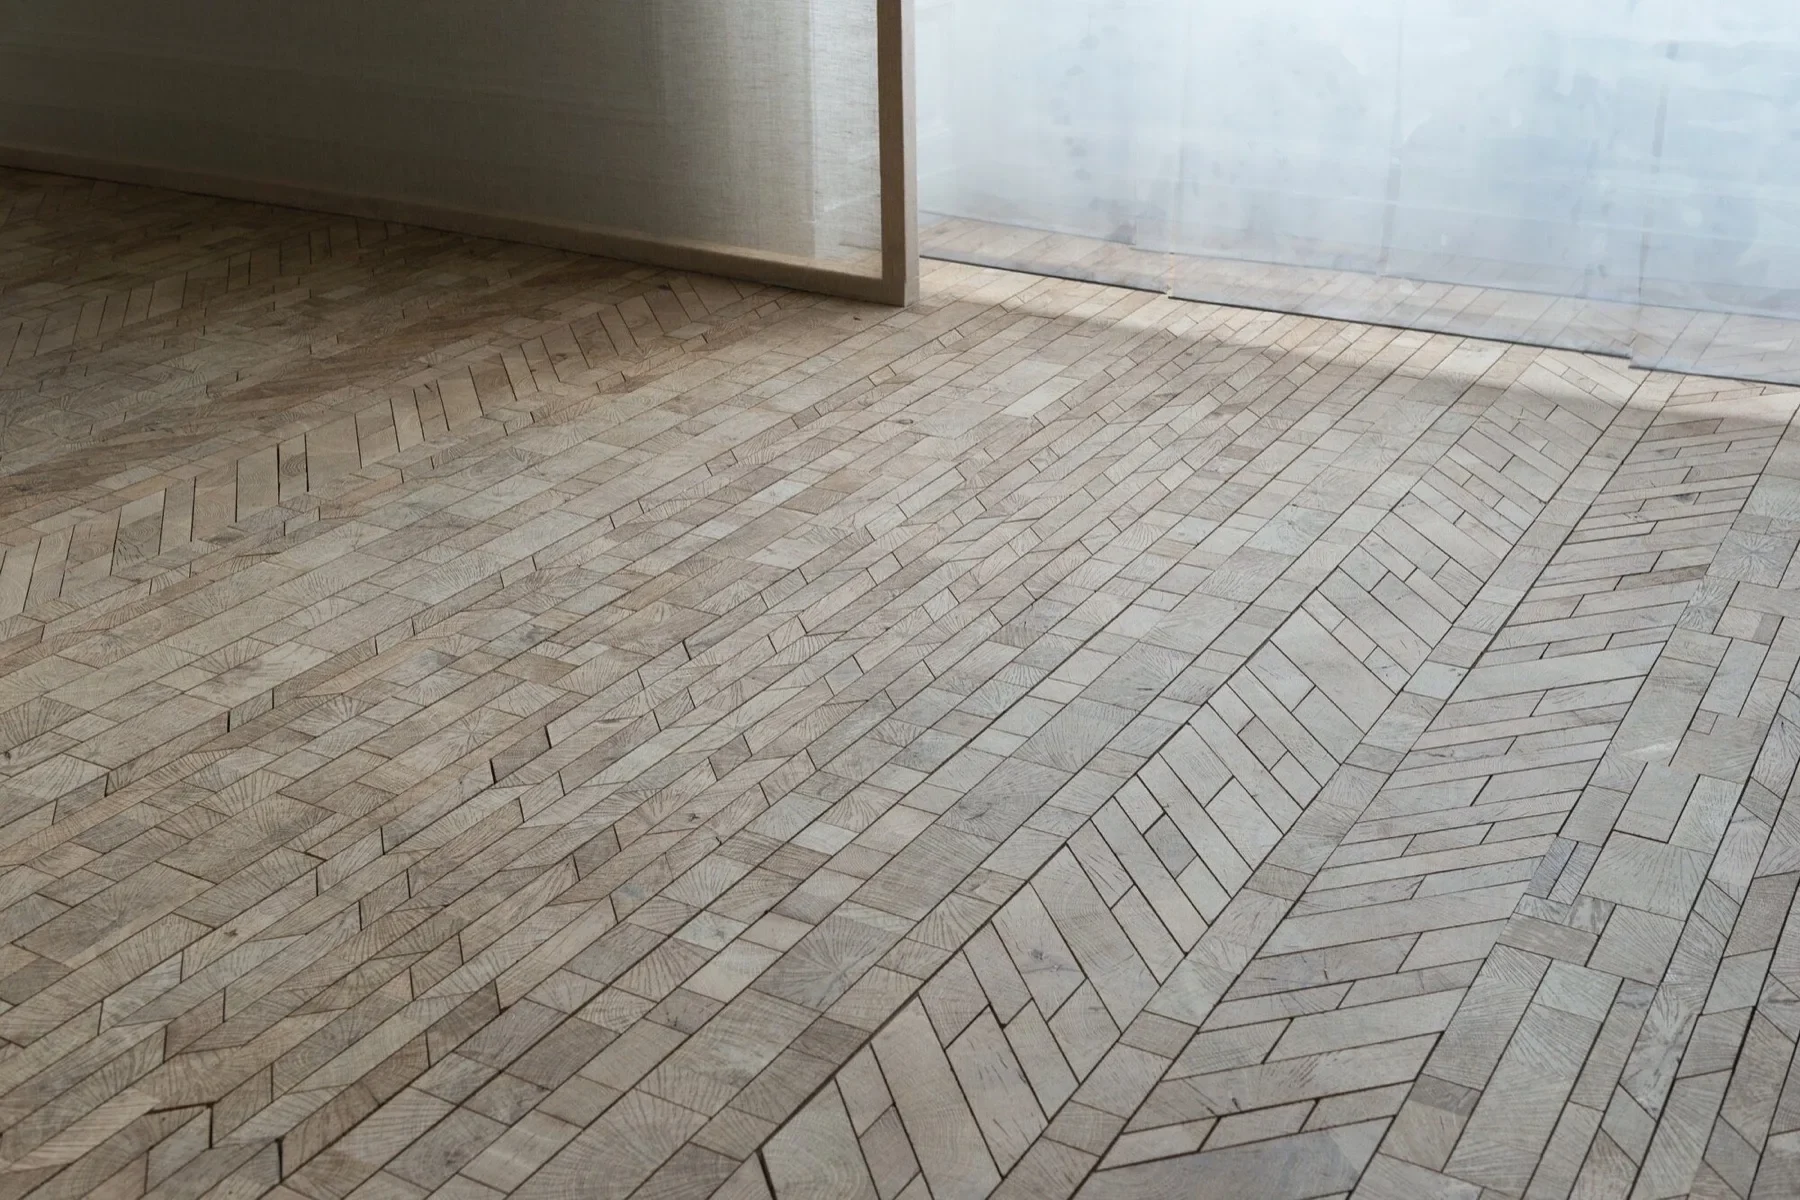
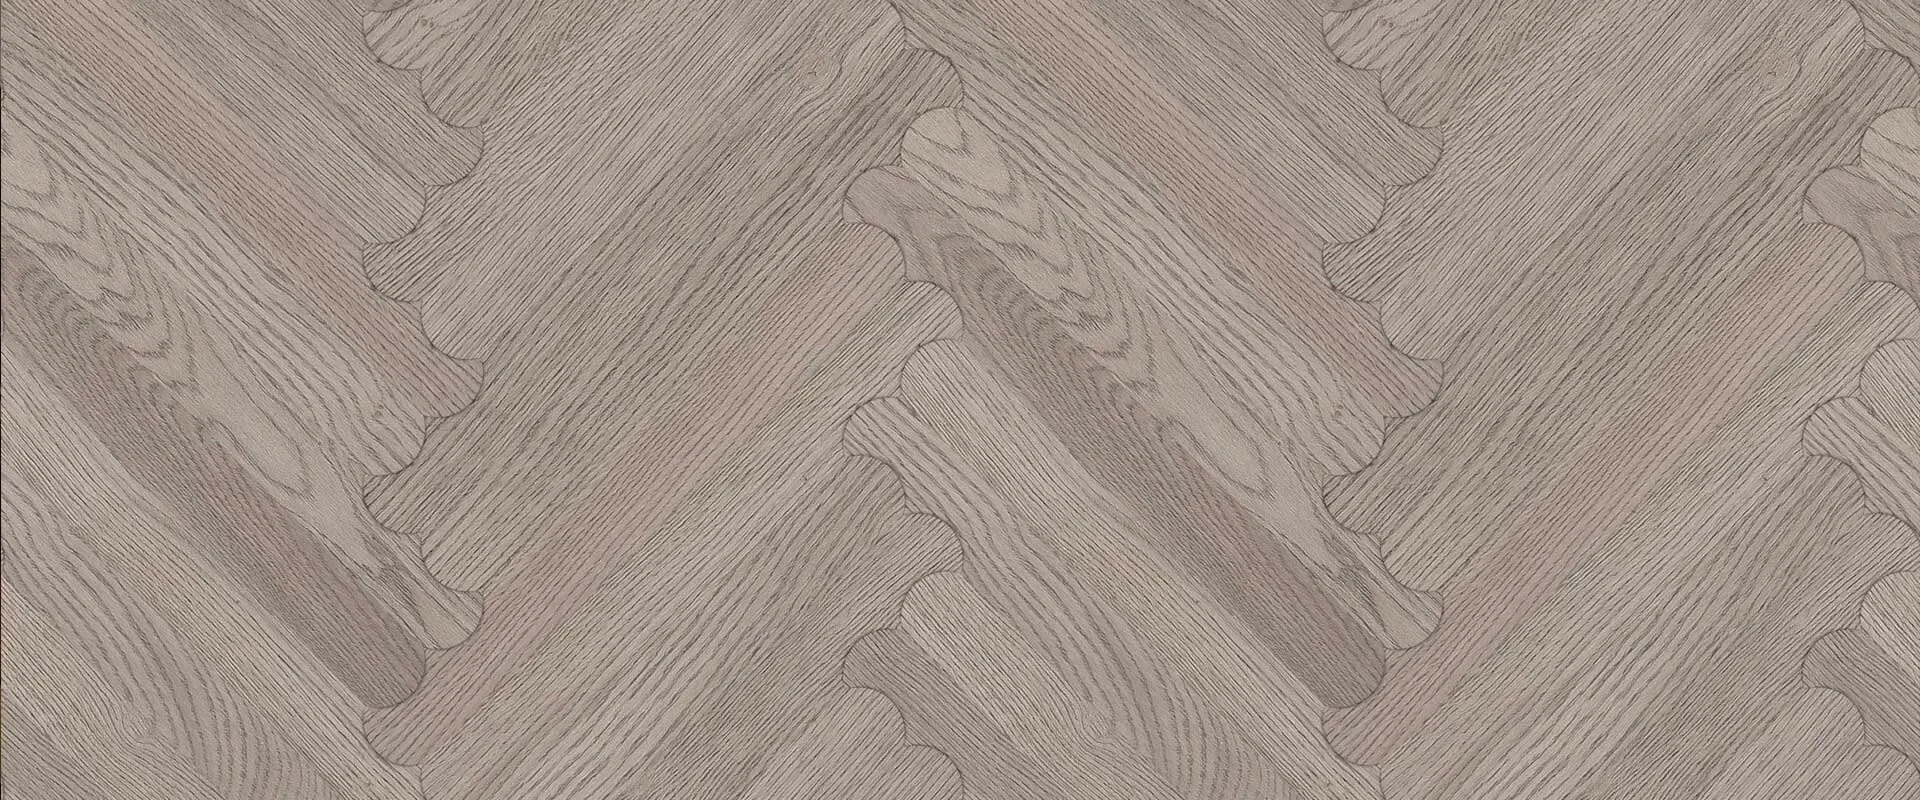
Herringbone, chevron and panel floors are set out from the centre line of the room, working outwards. Where the pattern finishes at the perimeter may justify moving the layout off centre, and a border of plank or narrow-plank flooring can be used to finish the edge. A complex layout with borders is worth drawing in CAD first. A true right angle on site comes from a 600, 800 and 1000 mm triangle, and a 45-degree diagonal comes from 800 mm arcs struck from points 800 mm out along each axis. Chevron is mostly cut at 45 degrees, though some ranges use 30. Chevron blocks come left- and right-handed, delivered in pairs, so the packs are opened and mixed, and the first section is laid loose to check that the points meet cleanly and the short lengths run in a straight line.
Panel floors such as Versailles are laid dry first, so the floor can be seen before it is fixed. They are traditionally laid on the diagonal, which can also make obstructions and out-of-square walls easier to deal with. In every pattern floor, check the rows often. We can set a patterned floor out digitally on the floor plate first, with each board coded and packed in laying order.
Set expectations early. Natural movement with the humidity is enough to open small gaps in a pattern floor, particularly with pre-finished blocks. Where a seamless surface is wanted, unfinished elements can be laid, filled and sanded, and finished on site. Herringbone, chevron and panel floors should be laid by qualified, experienced wood-floor installers: one maker says plainly that patterned installation is not a job for a builder or joiner unless they are fully qualified floor layers. You can see how each pattern reads in a room in the floor visualiser, and the wood flooring guide compares them.
Movement gaps, and where they hide
Every wood floor needs room to move. One UK maker asks for a minimum of 15 mm around the perimeter and every vertical obstruction, for planks and for pattern floors alike, with gaps left through doorways and archways where possible, covered by a T-section, to break up a large area. For a fully bonded plank floor wider than 8 m the same maker adds intermittent gaps, 1 mm for every metre beyond. Spacers hold the gap at the first row, because walls are rarely true.
The gap is covered, not filled. Skirting, scotia and thresholds are fixed so that they allow the floor to move beneath them, and skirting can be fitted and finished after the floor goes in. Door architraves can be undercut, so the boards slide underneath.
Details that make the floor look finished
Common good practice, not drawn from the maker’s guide, to agree with the contractor and installer before the boards are cut, because these are where a floor looks considered or looks fitted around.
- Thresholds cut from the flooring itself, rather than a stock saddle.
- Existing skirtings undercut where the build allows, so the floor slides beneath them.
- Stair treads and nosings finished to match, with an anti-slip insert where the use calls for it.
- Hearth surrounds mitred and set flush with the floor.
- Mat wells recessed, with flush return boards, and a barrier mat at every outside door.
- Access panels and socket boxes worked into the pattern, not cut in after.
- Floor protection kept down until the last trade has left.
After laying: protection, first clean and handover
Keep traffic off the floor until it is ready, and keep the room at living conditions after the floor goes in too, with the heating operating before, during and after the installation. Parquet needs a minimum of 24 hours, in one maker’s guide, before furniture goes on or people walk on it. The first clean is a vacuum and a clean with a product made for the finish. On a lacquered floor the same maker recommends two coats of its floor polish straight after installation for instant protection against scuffs and scratches; with another maker’s floor, follow that maker’s care guidance. Never use a steam cleaner or abrasive pads, put felt pads under furniture legs, and keep mats at the doors, because grit and excess moisture are the main hazards.
Judge the finished floor the way it will be used. One maker’s inspection standard is to look from a normal standing or seated position and to count only what is immediately obvious to any independent observer. Careful backlighting or crouching to look along the surface is not a fair test of a floor. LED light above about 4000 K, and light with a low colour rendering index, can distort the colour and tone, so inspect in the light the room will have. The same guide asks for the installation to be inspected during the work and before handover, in line with BS 8201:2011, so faults are spotted and corrected before completion. Care guidance is handed over with the floor.
When things go wrong
One maker’s guide says problems are almost always traceable to guidelines that were not followed. These are the faults it describes, and what they point to.
| What you see | What the maker’s guide points to |
|---|---|
| Cupping, buckling, lipping or delamination | Too much moisture: a wet subfloor, a leak, standing water or spills. |
| Gaps opening between boards | Boards laid at a different moisture content from the room, or a room that has become much drier, including a floor heated too hard. |
| A pattern running out, or gaps between elements | An uneven subfloor. In chevron every inconsistency shows at the sharp points. |
| Uneven gaps between planks or groups of planks (rafting) | Tongues and grooves glued on a bonded floor, or a floated floor larger than its limit. |
| Squeaks | A loose subfloor, or differential movement between heated and unheated areas. |
| A weak bond | Intermittent adhesive lines, adhesive that has skinned over, or gluing to chalky, sealed or burnished concrete. |
| Patches of colour change | Part of the floor was covered during the works, so light reached the rest. |
| Dust or paint in the finish | Plaster dust, paint and sanding dust from trades that worked after the floor went in. |
| Localised shrinkage | Uninsulated pipes beneath the floor. |
Questions we are asked
How long should wood flooring acclimatise before installation?
One UK maker asks for two to three days in the unopened packs, stacked flat in the room to be floored, with the building enclosed and held at 16 to 24°C and 45 to 65 per cent relative humidity. Over underfloor heating the same maker says extra acclimatisation may be needed. Follow the guide for your board.
How flat does a subfloor need to be?
A common tolerance is a gap of no more than 3 mm under a 2 m straight edge. For herringbone, chevron and panel floors flatness is critical: one maker says it is very rare for an installation problem in a chevron floor not to trace back to an inadequately levelled subfloor.
Can wood flooring go straight over tiles or old floorboards?
Engineered and solid flooring can go over sound, flat ceramic tile, terrazzo, marble and granite, and over sound existing boards. For patterns, herringbone, chevron and panels, one maker asks for a ply overlay of at least 9 mm over tile, and over old boards for parquet and herringbone.
Should the floor be glued down or floated?
Pattern floors are normally fully bonded; one maker also allows a high-grab self-adhesive underlay for straightforward herringbone and chevron, and bonds panels only. Some tongue-and-groove and click planks may be floated over an approved underlay, but one maker caps a glued floating floor at 6 m by 10 m and does not float parquet, herringbone, chevron or panels. Solid boards are traditionally nailed to joists, battens or plywood.
How big should the expansion gap be?
One UK maker asks for a minimum of 15 mm around the perimeter and all vertical obstructions, with gaps left through doorways where possible. The gap is covered by skirting, scotia or a threshold that still lets the floor move.
Who should install herringbone or chevron flooring?
A qualified, experienced wood-floor installer. One maker says patterned and chevron installation needs a high degree of technical ability and is not a job for a builder or joiner unless they are fully qualified in floor installation.
When in a building project should the floor go in?
Late. The floor should be one of the last elements, after the wet trades, plastering and the primer coats of paint, with the building enclosed and at living conditions. If other trades follow, the floor is protected completely with a purpose-made covering.
How soon can furniture go back after a bonded installation?
It depends on the adhesive and the floor. One maker asks for a minimum of 24 hours before furniture is moved onto or people walk on a newly laid parquet floor, and for planks says not to walk or kneel on them until the adhesive has fully bonded.
Sources
Figures in this guide are one maker’s published guidance, quoted as examples, and the standard that guidance cites. Always follow the installation guide for the product you buy.